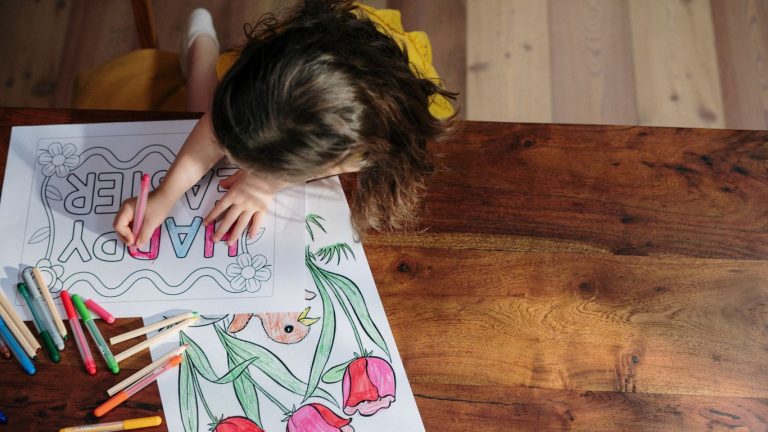
Easter is a time of vibrant colours, new beginnings, and of course, plenty of chocolate! It’s also a brilliant opportunity to get those creative juices flowing. Drawing is a fantastic way for children to express themselves, develop their skills, and have a bit of fun.
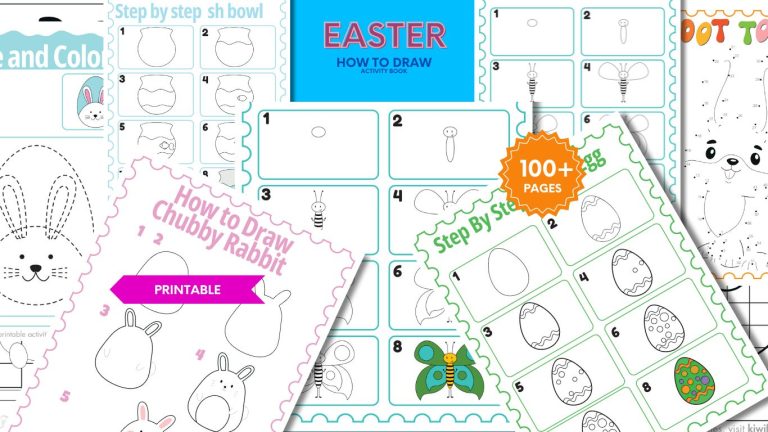
This year, inspire your little ones to try something different and create their own Easter-themed artwork. Our free “Learn How to Draw – Easter Edition” activity book is the perfect tool, filled with simple tutorials to guide them through drawing bunnies, chicks, decorated eggs, and more.
Today, we’re sharing a taste of the free activity book with 10 drawing challenges your children will adore. Get ready for some truly charming Easter creations!
Tutorial 1: The Classic Easter Egg!
Let’s get started with a classic Easter symbol – a festive egg! This is a really simple drawing, perfect for little ones who are just getting to grips with drawing shapes.
Top Tips:
- Egg-cellent Shape: For the egg shape, start by drawing a large oval. Remember, an oval is like a circle but a little squished in at the top and bottom. Make the bottom part of the oval a bit wider than the top.
- Crack a Smile: Once you’ve got your egg shape, it’s time to add a fun crack! Draw a wavy line across the top middle section of the egg, as if it’s just broken open.
- Ready to Hatch? Now for the fun part – what’s peeking out of the egg? You could draw a cute little chick or even a fluffy bunny peeking out curiously.
Let their Creativity Hatch! This is their chance to get creative! Here are a few ideas:
- What colours will they make your egg? Will it be bright and colourful or have a more subtle pattern?
- What kind of chick or bunny will they draw peeking out? Feel free to add details like fluffy fur or a bright beak.
- They could even draw some grass around the bottom of the egg, as if it’s sitting in a field.
The possibilities are endless! So grab your pencils, pens, or crayons, and let’s draw a really cute Easter egg!
Tutorial 2: Hopping Mad for a Basket!
Now that you’ve mastered drawing a classic Easter egg, let’s move on to something a little more complex – a basket to hold all those lovely eggs! This tutorial is a great introduction to learning how to draw simple shapes and lines.
Top Tips:
- Basket Basics: We’ll start by drawing the basic outline of the basket. Imagine a wonky rectangle with a curved line at the top for the rim.
- Handle with Care: Next, draw the handle. It looks a bit like a wonky letter ‘U’ sitting on top of the basket, with a small line at each end to connect it to the rim.
- Stripes for Style (Optional): Baskets often have stripes or other patterns. Try drawing some wavy lines going up and down the sides of the basket to add some decoration.
Let’s Get Creative!
Once you’ve got the basic basket shape, here are some ways to make it your own:
- What colours will you make your basket? Will it be a natural brown or a bright and cheerful colour?
- You could draw some Easter eggs peeking out of the top of the basket, or add some pretty flowers for a spring touch.
- How about a cute little bunny sitting beside the basket?
Let your imagination run wild and create a basket that’s bursting with Easter cheer!
Tutorial 3: Flutter By with a Beautiful Butterfly!
Isn’t it amazing how butterflies seem to float on the breeze? In this tutorial, we’ll be drawing a beautiful butterfly with symmetrical wings.
- Body Basics: Start by drawing a small oval in the centre of your page. This will be the butterfly’s body.
- Wing It! On either side of the body, draw two large ovals that are slightly tilted upwards. Imagine these ovals are touching the body in the middle. These will be the butterfly’s wings.
- Double the Fun! Because butterflies have two sets of wings, we need to add some detail inside the large ovals. Draw a thin, squiggly line going diagonally from the top of the body towards the top point of the wing. Do the same thing on the other side. These lines will help divide the wings into two sections.
Let’s Get Creative!
Now that you’ve got the basic butterfly shape, let’s make it colourful! Here are some ideas:
- What colours will you make your butterfly? Butterflies come in all sorts of stunning colours, so let your imagination run wild!
- You can add spots, stripes, or other patterns to the wings for decoration.
- Feel free to draw antennae on top of the head – these look a bit like thin pipe cleaners.
Don’t forget the details! Butterflies have beautiful eyes on their wings. You could try drawing a small circle with a black dot in the centre on each wing.
Let your creativity flutter free and design a stunning butterfly that would make any garden proud!
Before you go…
We hope you enjoyed the sneak peek of our Easter drawing tutorials! Remember, these are just a few of the fun drawings you’ll find in our “Learn How to Draw – Easter Edition” activity book. If you loved these, download the full activity book below (FREE) and discover even more adorable Easter-themed creations. And if you want even more easter fun check out our 5 easy Easter activities to make with kids.


