Are you tired of the same old boring garden sculptures from retail stores? Why don’t you create your own. With just a few supplies and some creativity, you can upcycle an old, salvaged door into a stunning DIY garden illusion door that will add a touch of magic to your backyard.
Not only do sculptures add visual interest and focal points, but they can also help create a sense of depth and dimension in your garden. A sculpture, like this illusion door, can serve as a beautiful and unexpected surprise for visitors as they explore your garden. Something unexpected with no other purpose than to bring joy.
As you begin painting, don’t be afraid to get creative with your design. You can add intricate details like doorknobs, hinges, and even a peephole to give the illusion of a real door. You can also incorporate other elements like flowers or vines around the doorframe to create a natural and organic look. Consider adding a decal like ours for an extra level of illusion. Or even set the door open a little, placing a custom thin mirror into the opening. Your choices are endless.
For this illusion garden door, you’ll want to select a bright colour that will pop against your garden foliage. You could tie the colour to the theme of your garden, or go for something contrasting. And we’ll be using a high-gloss paint, which adds extra resistance to the elements, and really makes the colour pop right out of the garden.
You will need
Old salvaged wooden door in fairly good repair
Sandpaper
Gap filler and plaster filler
Resene Smooth Surface Sealer
Resene Wild Thing in Enamacryl (or other vibrant colour of your choosing a bright gloss)
Resene All Black in Lumbersider
90x45mm H3.2 treated framing timber (optional, if your door has no frame, you’ll need around 5-6 meters)
Screws
Quickset concrete
Garden-scene or mirror decal (optional, works well if your door has a window pane)
What to do
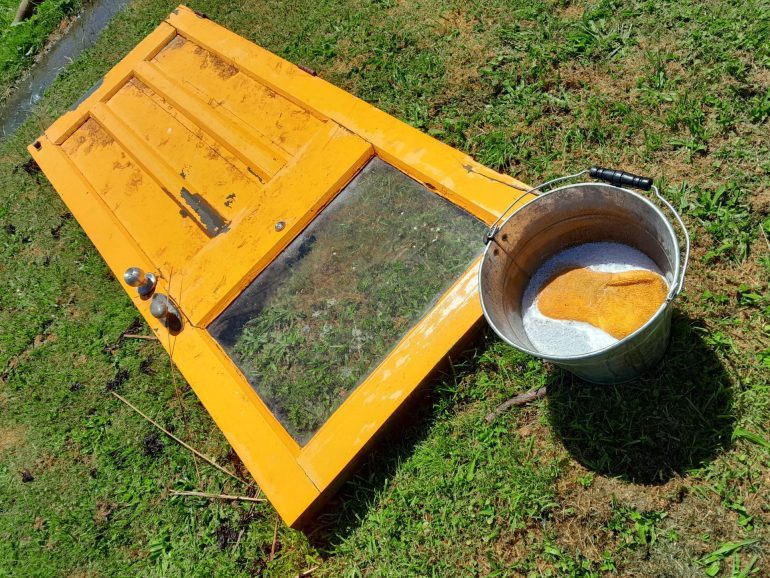
1. The first step is to find an old, salvaged door that you can use as the base for your sculpture. It needs to be in fairly good repair, but nothing too fancy, as we’ll fix small blemishes as we go. You can find a door cheaply at the salvage yard or online, like Trade Me or eBay. In our case, we had replaced the timber door on our outside office. So we repurposed the old door that had broken off it’s hinges.
2. It’s time to give your old door a proper good wash down. This is an important step before priming to remove any dust, oils or grease, as well as clean up any cobwebs or insects that have made the door home. You can just use ordinary household detergent and a scrubbing brush for this step.
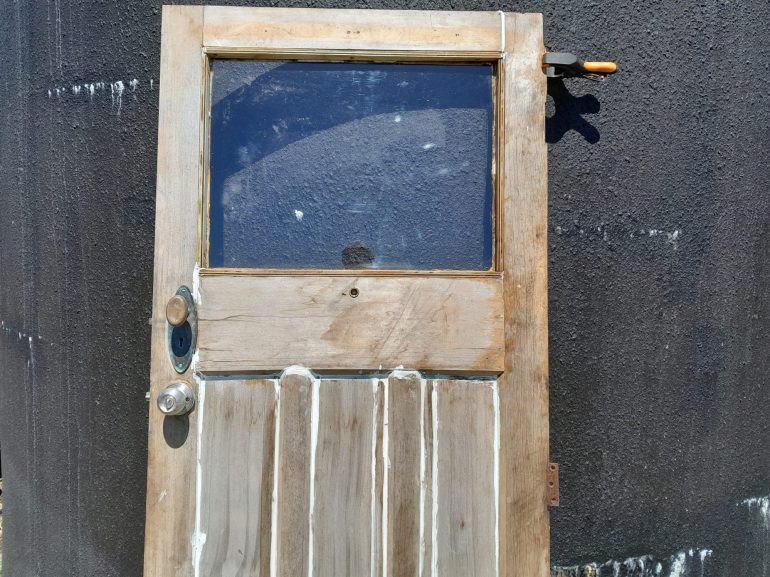
3. Once it’s dry, it’s time to do a little bit of prep. You don’t need to go overboard here, remember the door will live outside in the garden and you’re not likely to see minor blemishes once plants grow up around it. Fill any gaps with the gap filler, especially around the panelling, where the glass meets the timber and around the hinges. This is really important to make sure we keep water out. Then fill any obvious defects with the plaster filler. Again, just focus on large dings, dents of holes, it won’t need to be perfect.
4. Once your gap and plaster filler is dry, it’s time to give the whole door a good, rough sand down. You’re not trying to sand it back to bare timber here. Just enough to remove rough or chipped areas, and to sand back any plaster filler.

5. You should consider priming your door before painting. If there’s any bare timber, like ours, or if your door is stained or polyurethaned timber then it must be primed. And if it’s painted, it may be with an oil based paint, so you should just prime it anyway. I highly recommend the Resene Smooth Surface Sealer. We use it in most of our DIY projects. It goes on very quickly, it’s water-based so it dries quick, and it covers almost any painted or urethaned surface.
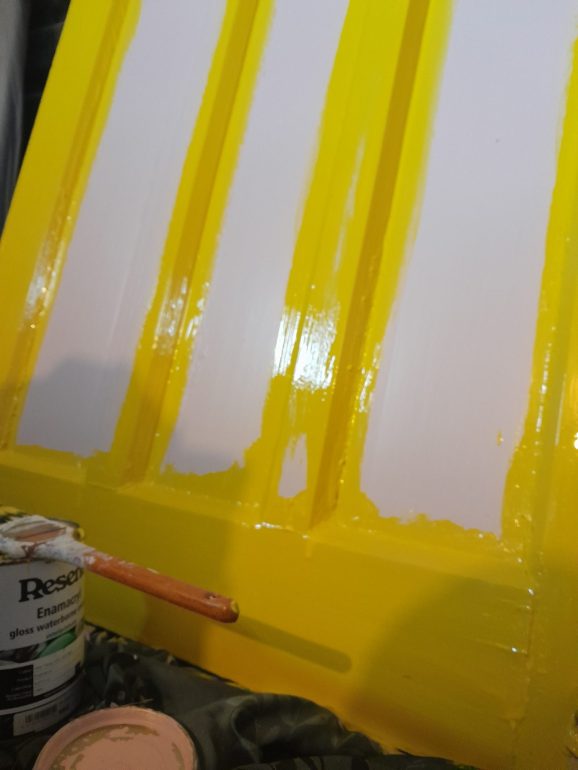
6. Now it’s time to paint! We love Resene Wild Thing, it’s a huge pop of colour and just the right shade of yellow to match our flaxes and grasses. But you could go for a bright orange, red, purple, whatever you like here. Just be bold. You want the door to really pop right out of the garden, like a bright rose blooming! We also used Enamacryl, which is a water based enamal in high gloss. Again, the goal is to reflect lots of happy colour around the garden. You want at least 3 coats of colour. I used 4. This helps the true colour to come out, but also makes sure you fill in any last gaps to keep the water out.
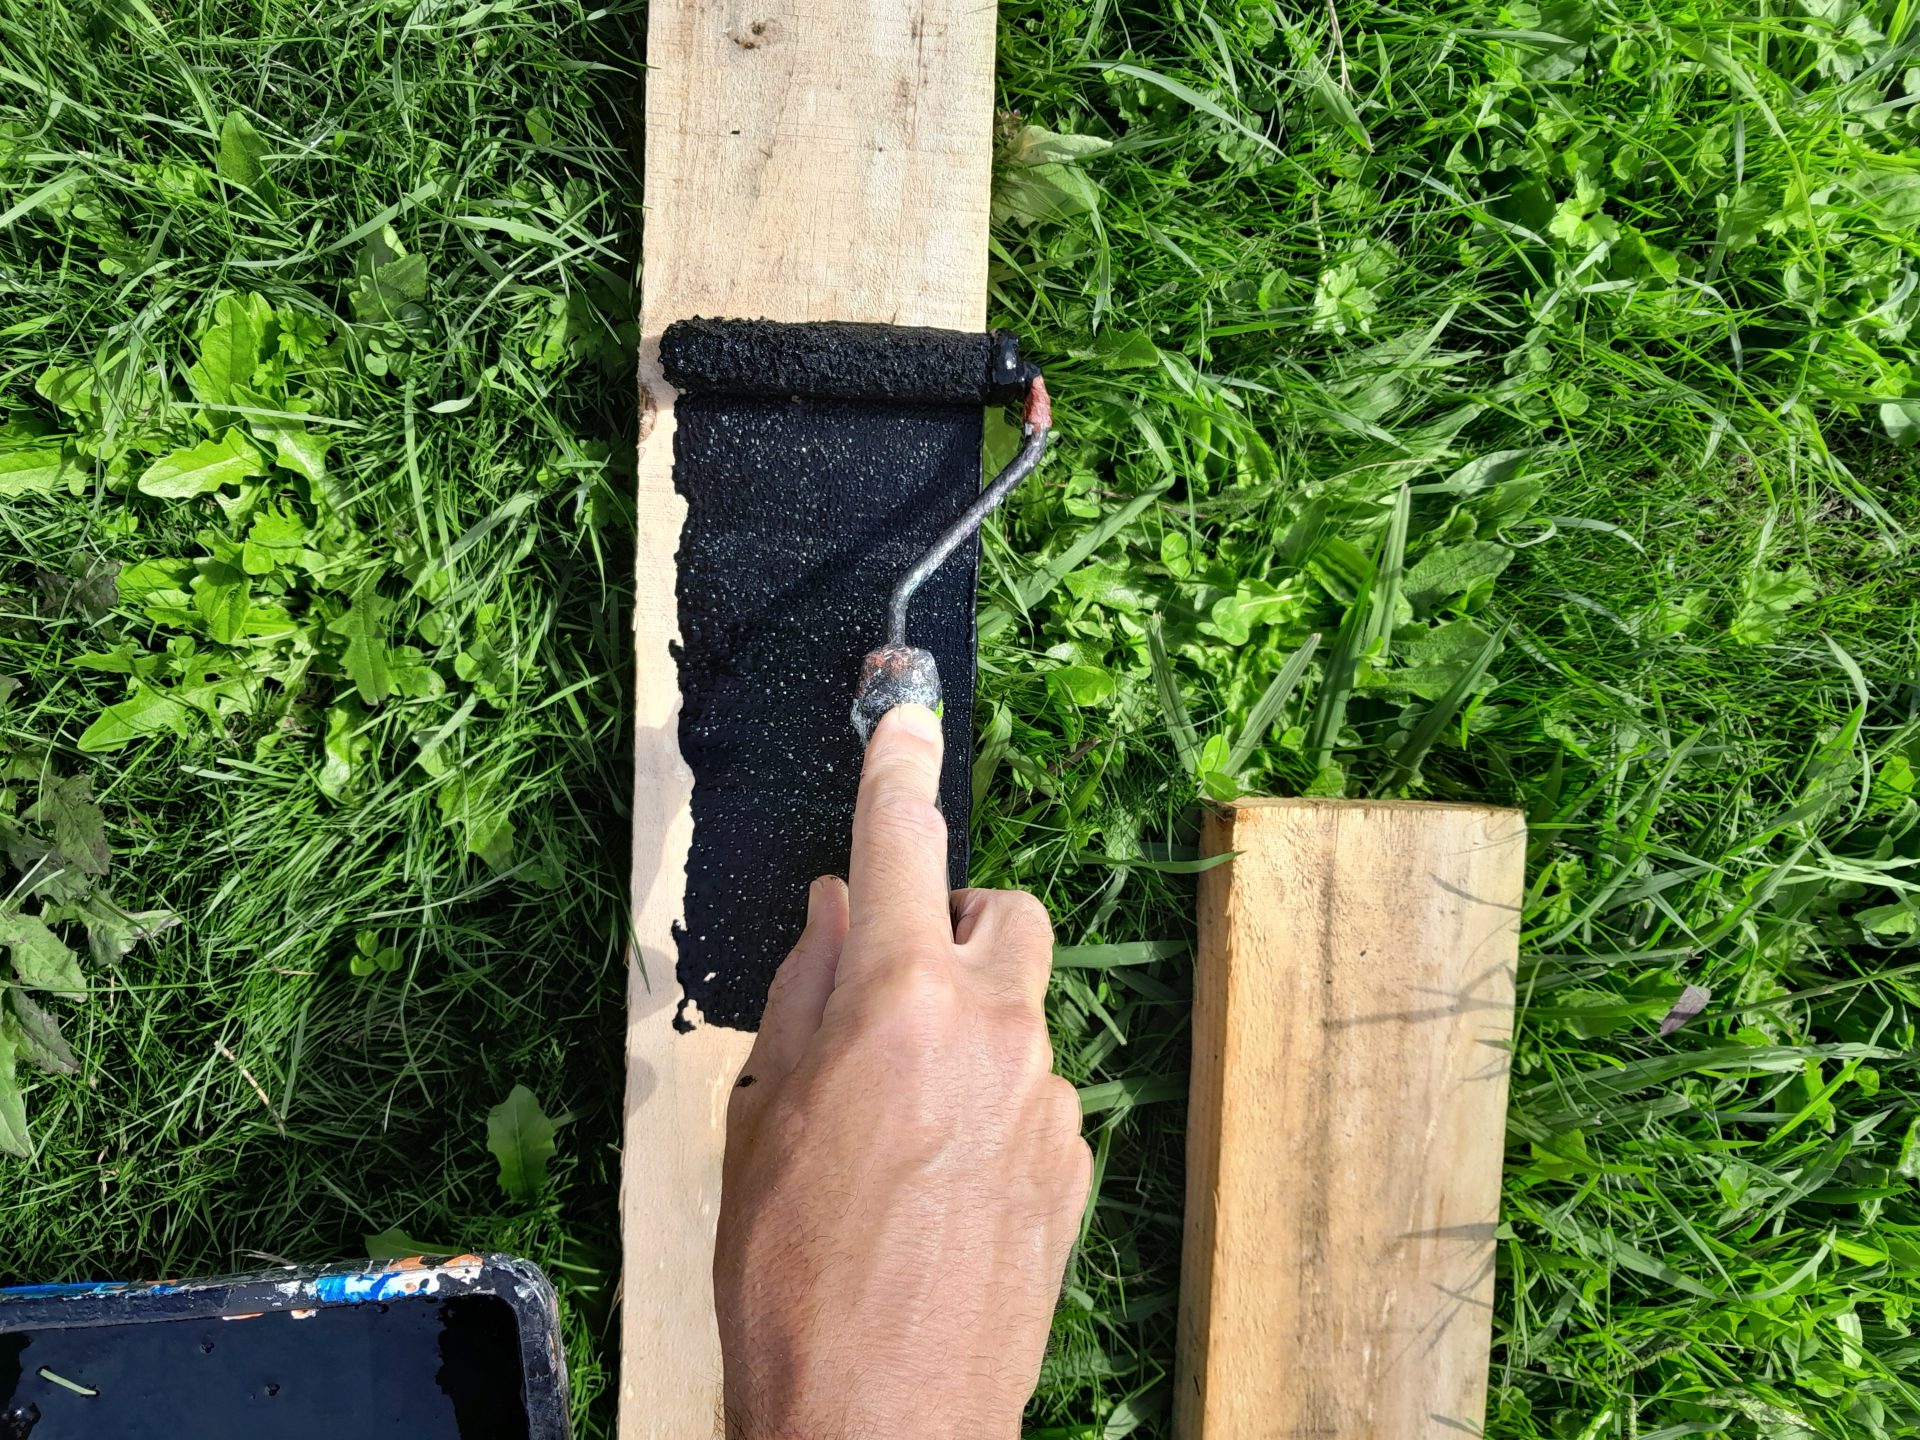
7. If your door comes in a frame, that’s great, just prime and paint out the frame in Resene All Black. If not cut the framing timber to fit both sides and the top of the door. Make sure you cut the sides at least 450mm longer than the door, but up to 900mm longer is better. Paint out in black, and fix the frame to 3 sides of the door, using the screws. At this point we also painted the back of our door black, as our neighbours can see the back of the door from their garden.
8. Now fix 1 more piece of timber to the middle back of your door, to create 3 ‘posts’ to hold the door upright. This should at least half way up the back of the door, and also extend at least 450cm below the door. Screw this to to the back. At this point we decided our door was still too heavy for the length of the posts. So we extended the side posts another 200mm with some extra framing timber.
9. Decide where you want your door to be positioned in the garden, and mark out where the 3 posts will go. Level the ground around where the door will sit. Then dig 3 holes at least 450mm deep, up to 900mm. Place your door posts in the holes, and use the level to make sure it’s level horizontally and vertically. Fix some scrap timber bracing to the sides, facing forward and back, to hold the door steady. An extra pair of hands helps here!
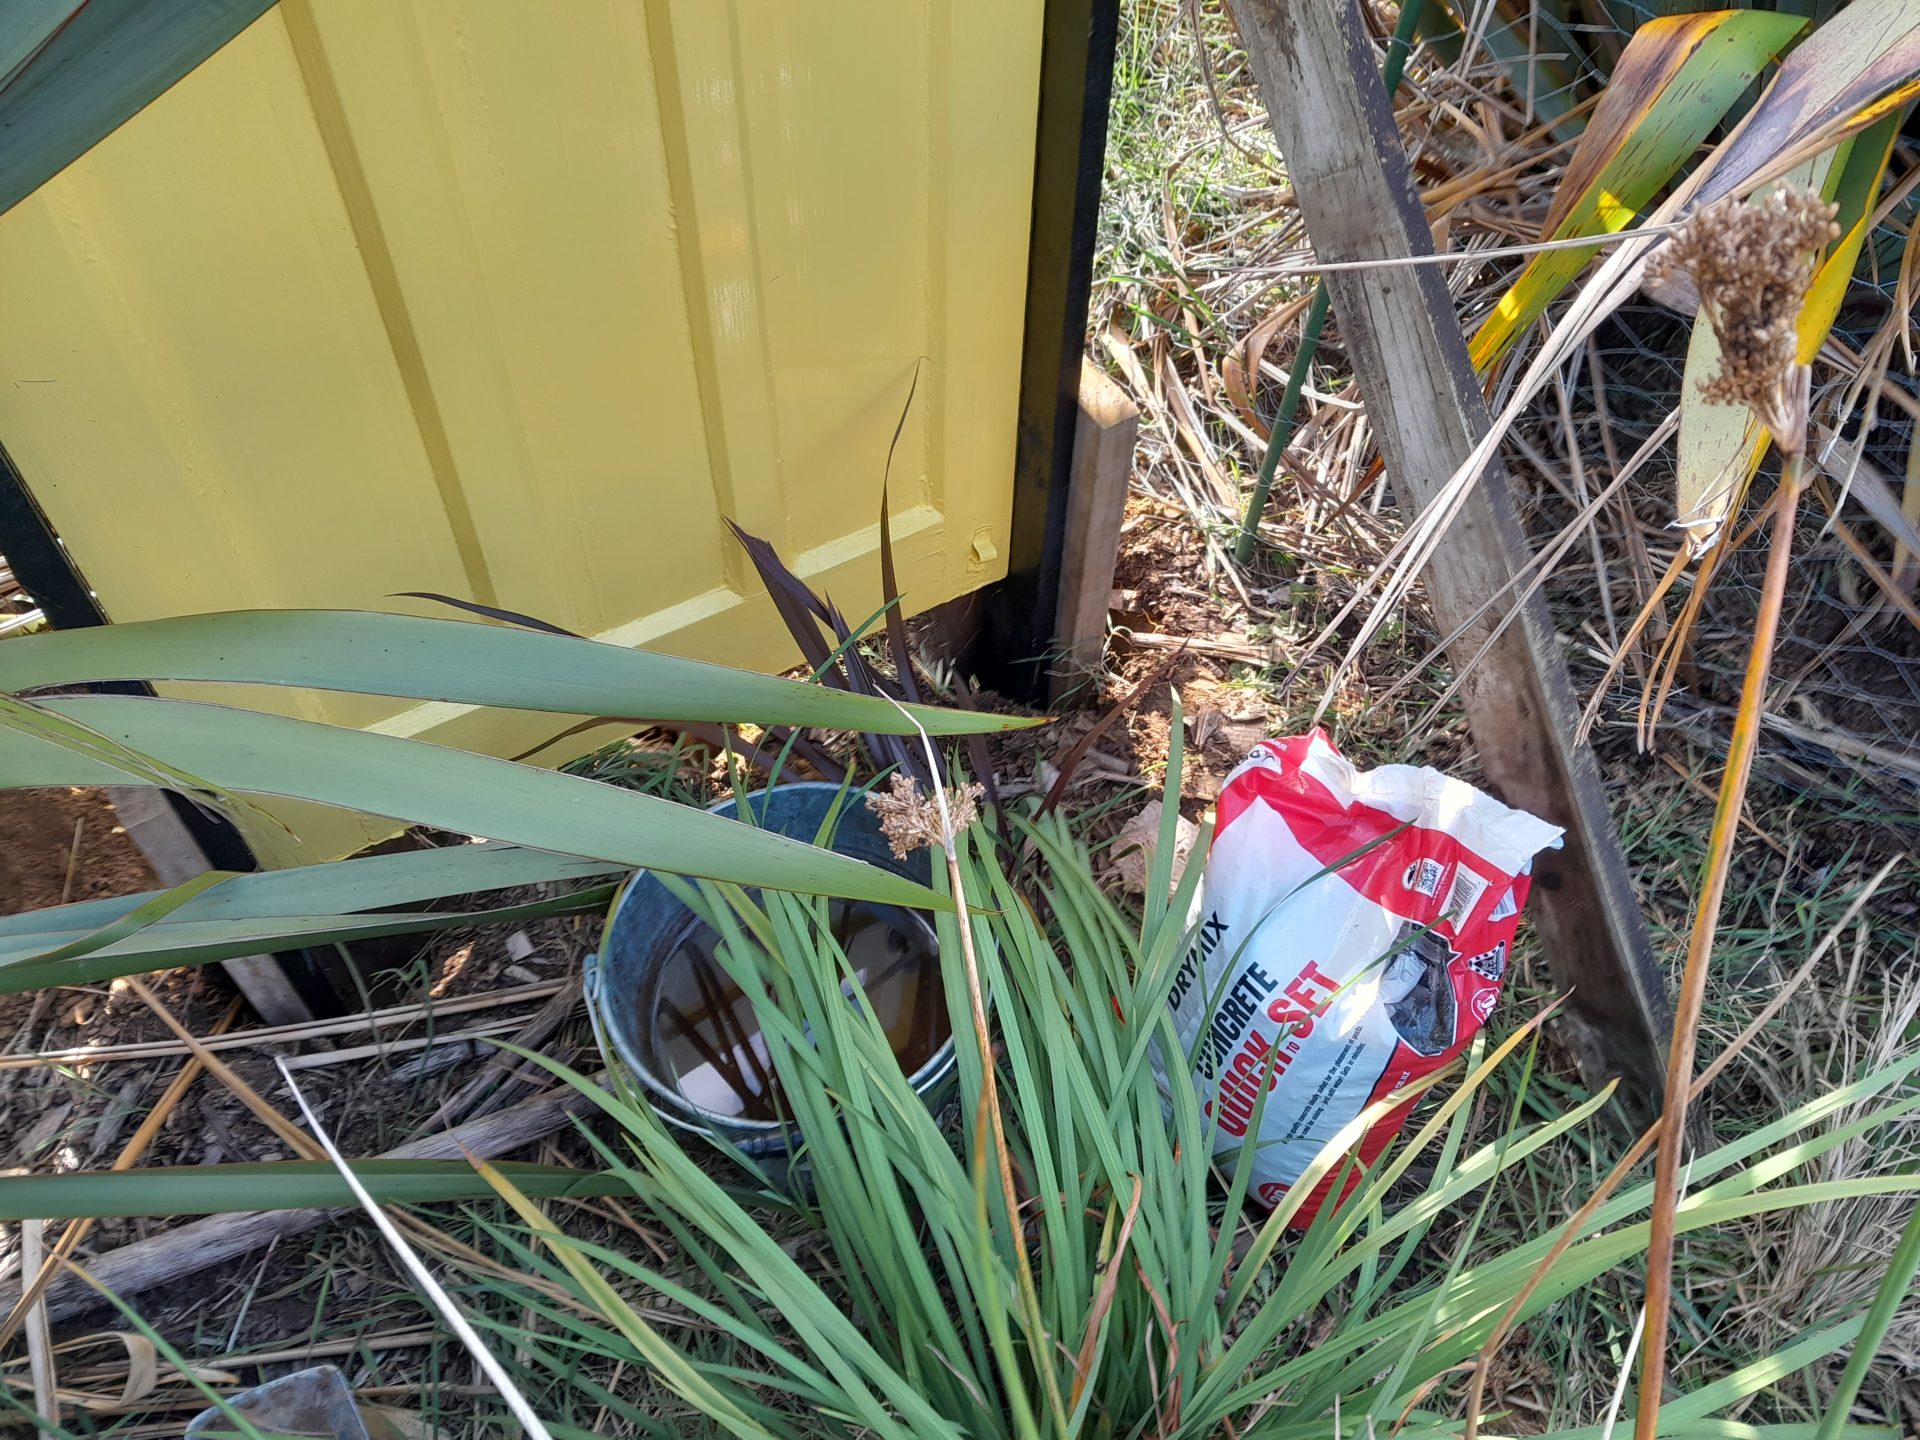
10. Once you have the door upright, level and braced, mix up the quick set concrete according to the instructions, and fill all 3 holes with concrete. Once the concrete is set, replace the soil and firm down to really pack around the posts, and hold the door firm. You can remove the timber bracing after a day or two.
11. The last step is only if you’ve chosen to add a decal. We choose a forest scene to print on ours and got it printed online through Vista Print. We thought it gave it a really quirky scene to look through to, and matched our native planting scheme. A reflective mirror decal would be another option. Cut to size and apply according to instructions.
Finally, sit back and admire your handiwork. Your illusion garden door will be a stunning addition to your garden and a conversation starter for guests. Plus, you can take pride in the fact that you created something beautiful and unique with your own two hands.
This DIY garden sculpture is a fun and rewarding way to add some personality and charm to your outdoor space. By upcycling an old salvaged door and using a bit of paint and creativity, you can create a stunning illusion door that will add depth and dimension to your garden.
For more upcycling ideas, check out our DIY and Home section.